Aiwa XR-M700 User Manual
Browse online or download User Manual for CD players Aiwa XR-M700. XR-M700 K
- Page / 38
- Table of contents
- BOOKMARKS
Summary of Contents
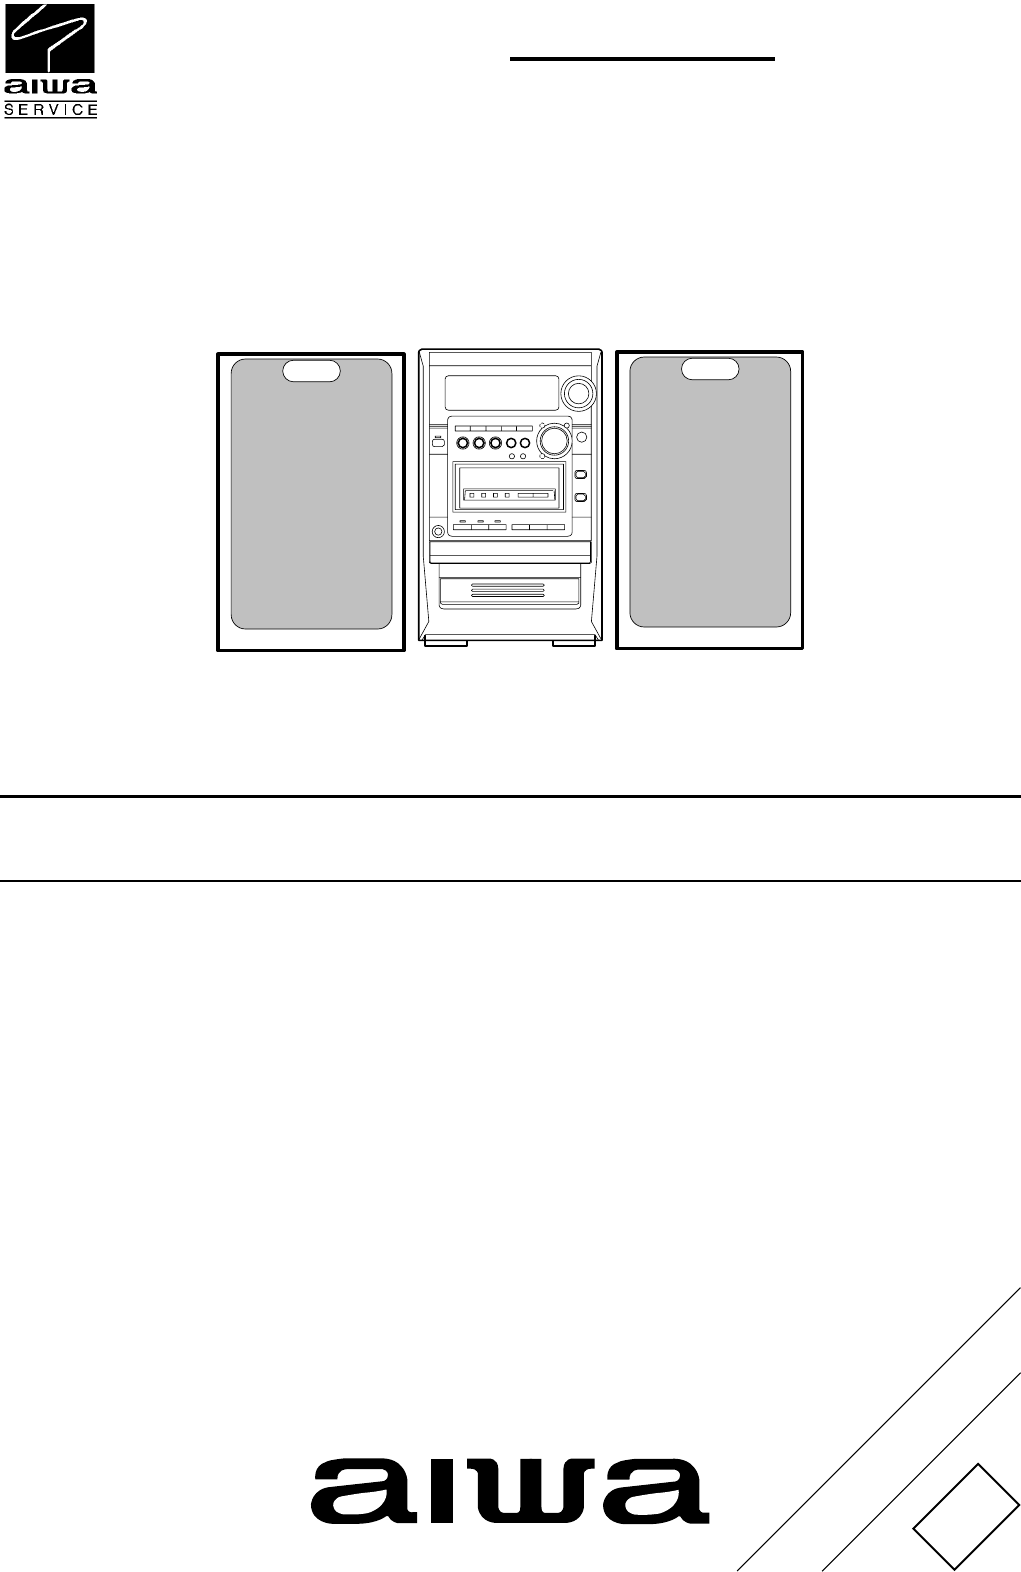
SERVICE MANUALDATACOMPACT DISCSTEREO SYSTEMBASIC TAPE MECHANISM : 2ZM-1 R9NMBASIC CD MECHANISM : ZZG-4 YBXR-M700KS/M Code No. 09-009-430-8S1SUPPLEMEN
– 10 –3) Turn over the CD mechanism and short-circuit the shortland of the pick-up.4) Desolder M201 and M202. And remove the screw.Disconnect FFC (3 p
– 11 –5) Views after removing the CD C.B.Once the claws (indicated by the circles) are pressed, 2 of the GEAR, SLIDER A will come off.
– 12 –2-1. Removing the Pick-up1) Turn over the CD mechanism and short-circuit theshotland (indicated by the circle) at the pick-up.2. Procedure of Re
– 13 –4) Put back the CD mechanism and remove the 2 screws of S-SCREW, MECH HLDR (81-ZG1-254-010).5) Remove the screw VIT+2-3 (87-571-032-410) and LED
– 14 –2-2. Peripheral parts of 3ZG-2Parts Name Parts No. Usage NumberA W-P 2.08-8-0.5 SLIT 87-B10-273-010 4B W 3-8-0.5 88-ZG5-324-010 2C CUSH-G MAIN A
– 15 –2-3. Pick-up installation1) Install the pick-up to 3ZG-2.2) Locate the 2 springs (SPR-C, MECH (F)) on the rear sideof the BASE.3) Pass the SHAFT
– 16 –5) Install the 2 screws (G) into the CLR, MECHA(H).6) Turn over the CD mechanism and fix the SHAFT, MECH(E) with washer.7) Connect the FFC, 16P
– 17 –8) Remove the shortland soldering of the pick-up.9) Put back the CD mechanism and fixate the holder (with the LED PWB mounted) by screwing it th
– 18 –3-1. Assembly the ELEVATOR Part1) Lift up both the LEVER, CATCHER L (in red solid line) and R (in red dotted line) and remove the HLDR, CLAMP.3.
– 19 –2) Fit the A’, B’, and C’ of the HLDR CLAMP to the A, B, and C of the BASE respectively, and set the HLDR, CLAMP into the BASE.Push the HLDR, CL
– 2 –1. Procedure of Disassembling the ZZG-4 Mechanism1-1. Removing the FRAME, MAIN1) Remove a screw and PLATE, FRAME L.2) Remove the 2 screws and PLA
– 20 –4) Set the boss of the LEVER, ASSY LINK into the groove of the LEVER, SLIDER (on the both sides of L and R).5) 1 Insert the boss of the LEVER, A
– 21 –6) Fix the HLDR, LINK R with screws.Then install the spring (88-ZG5-292-010).7) Fix the HLDR, LINK L in the same step as R, and then install the
– 22 –10) Pass the FFC, 4P through the rib of the BASE, and connect it to the connector of the switch circuit board. Refer to the “6-5. Marking of eac
– 23 –2) Set the 2 GEAR, SLIDER A to the BASE, so as to align the projection “a”, the circle hole “b”, the projection “c”, the circle hole “d”, thepro
– 24 –3) Install the GEAR, SLIDER C with a screw.4) Install the PULLEY, SLIDER and PULLEY BASE with2 screws. Then install the BELT, SLIDER and BELT,P
– 25 –2) First, hook the rear side of the CD circuit board on the picks. Then position it on the front side. Make sure that the boss of the SW 201and
– 26 –4) Remove the shortland soldering of the pickup.3-4. CG MAGAZINE Installation1) Insert the TRAY 1, 2, 3 and 3 pieces of MAGAZINE intothe BASE. *
– 27 –3) Install the PWB, TRAY with the 2 screws.
– 28 –3-5. Marking of each GEAR*In case of replacing all the GEAR, MAGAZINE / GEAR,ELEVATOR, GEAR, TRAY AB with new GEAR, use awhite marker for markin
– 29 –3-6. GEAR, ELEVATOR Phase Adjustment1) Put the marked teeth of the 1 GEAR MAGAZINE and the marked teeth (on the upper side) of the GEAR, ELEVAT
– 3 –4) Remove the FRAME, MAIN on the L side first. Then liftup toward the direction of the arrow and remove theFRAME, MAIN from the BASE.2) Turn the
– 30 –2) Rotate the GEAR, ELEVATOR and position the markedteeth (on the bottom side) at the point indicated by anarrow (Notes: it is different from th
– 31 –5) Install the HLDR, SHAFT with screws.6) Rotate the GEAR, SLIDER B to position theELEVATOR at the TOP position.3-8. FRAME, MAIN Installation1)
– 32 –4) Set the left-hand side of the FRAME, MAIN onto the rail.5) Insert the 1 FRAME, MAIN all the way to the end.Press the 3 FRAME, MAIN until the
– 33 –7) Install the PLATE, FRAME R with screws.
– 34 –CD TEST MODE1. How to activate1) Insert AC plug into an outlet while pressing theCD function button. (Fig.1 1)2) Display will be all lit as sh
– 35 –2. Mecha Test Mode1) By pressing the following buttons, up and down operation of the elevator, and the OPEN/CLOSE operation of the frame (tray),
– 36 –2) Each mecha switch and ON/OFF position of sensors may be checked on display.SW and SensorFrame OPEN /CLOSE SWTRAY No.Detection SWElevator Posi
– 37 –3. CD Test Mode1) CD test mode retains the functions as usual. After the activation, press each control button in order to turn on the following
2–11, IKENOHATA 1–CHOME, TAITO-KU, TOKYO 110, JAPAN TEL:03 (3827) 3111Printed in Singapore9620450 0251431
– 4 –1-3. Removing the GEAR, ELEVATOR1) Remove the GEAR, ELEVATOR.1-4. Removing the CD MAGAZINE Part1) Remove the GEAR, TRAY A and B, etc. to make it
– 5 –3) Remove the claws indicated by the circles in order toremove the MAGAZINE, TOP. Insert a minus driver intothe gap and remove the MAGAZINE, TOP
– 6 –1-5. Removing the ELEVATOR Part1) Remove the FFC, 4P of the switch circuit board from theBASE rib, and disconnect it from the connector.2) 1 Remo
– 7 –5) Remove the boss of the LEVER, ASSY LINK from thegroove of the LEVER SLIDE (both L and R sides).6) Remove the spring (88-ZG5-225-010).7) 1 Use
– 8 –8) 1 Lift up the PLATE, ELEVATOR, together with the HLDR, CLAMP.2 Once lift it up to the TOP position, pull it toward the front side. Then remove
– 9 –1-6. Removing the ELEVATOR UP/DOWN Components.1) Remove the BELT, SLIDER and BELT, BASE. Then remove the 2 screws, the PULLEY, SLIDER and PULLEY,
Related products and manuals for CD players Aiwa XR-M700
 (34 pages)
 (11 pages)

 (26 pages) (32 pages)
(25 pages)
(16 pages)
(26 pages) (32 pages)
(25 pages)
(16 pages)
© 2020, manymanuals.com. All rights reserved. | 0.053 s |
 Manymanuals.com
 Manymanuals.de
 Manymanuals.fr
 Manymanuals.it
 Manymanuals.pl
 Manymanuals.cz
 Manymanuals.es
 Manymanuals-pt.com
Comments to this Manuals