Aiwa CDC-X10 Specifications
Browse online or download Specifications for Car media receivers Aiwa CDC-X10. Aiwa CDC-X10 Specifications [en] User Manual
- Page / 52
- Table of contents
- TROUBLESHOOTING
- BOOKMARKS
- CDC-XIO w 1
- ~ TABLE OF CONTENTS 2
- ~ PRECAUTIONS 3
- ●DETACHING THE CONTROL PANEL 4
- CONTROL PANEL 5
- To turn on the unit 6
- To turn off the unit 6
- ~ RADIO OPERATION 8
- Seek Tuning 9
- ~ PRESETTING STATIONS 10
- Automatic Presetting 11
- ~ CD PLAYBACK 12
- Intro Play 13
- Repeat Play 13
- Random Play 13
- ~ PROGRAM PLAY 14
- , SPECIFICATIONS 16
- ~ TROUBLESHOOTING 17
- , TABLE DES MATIERES 18
- ❑ PRECAUTIONS 19
- ~ PANNEAU DE COMMANDE 21
- ~ MISE SOUS/HORS TENSION DE 22
- CAPPAREIL 22
- ●AJusTEMENTs soNoREs 23
- , FONCTIONNEMENT DE LA RADIO 24
- Recherche d’accord 25
- , PREREGLAGE DE STATIONS 26
- Prereglage automatique 27
- ~ LECTURE DE CD 28
- Lecture intro 29
- Repetition 29
- Lecture aleatoire 29
- ●LECTURE DE PROGRAMME 30
- Remarques 31
- ~ SPECIFICATIONS 32
- ~ EN CAS DE PANNE 33
- PRECAUTION 34
- ~ PRECAUCIONES 35
- B PANEL DE CONTROL 37
- Para conectar el aparato 38
- Para desconectar el aparato 38
- AJUSTES DE SONIDO 39
- ●FUNCIONAMIENTO DE LA RADIO 40
- Sintonizacion con busqueda 41
- ~ PROGRAMACION DE EMISORAS 42
- Programacion automatic 43
- Reproduction de inicios 45
- Reproduction con repetition 45
- Reproduction aleatoria 45
- , REPRODUCTION PROGRAMADA 46
- ~ ESPECIFICACIONES 48
- ~ LOCALIZATION DE AVERIAS 49
- AIWA CO.,LTD 52
Summary of Contents
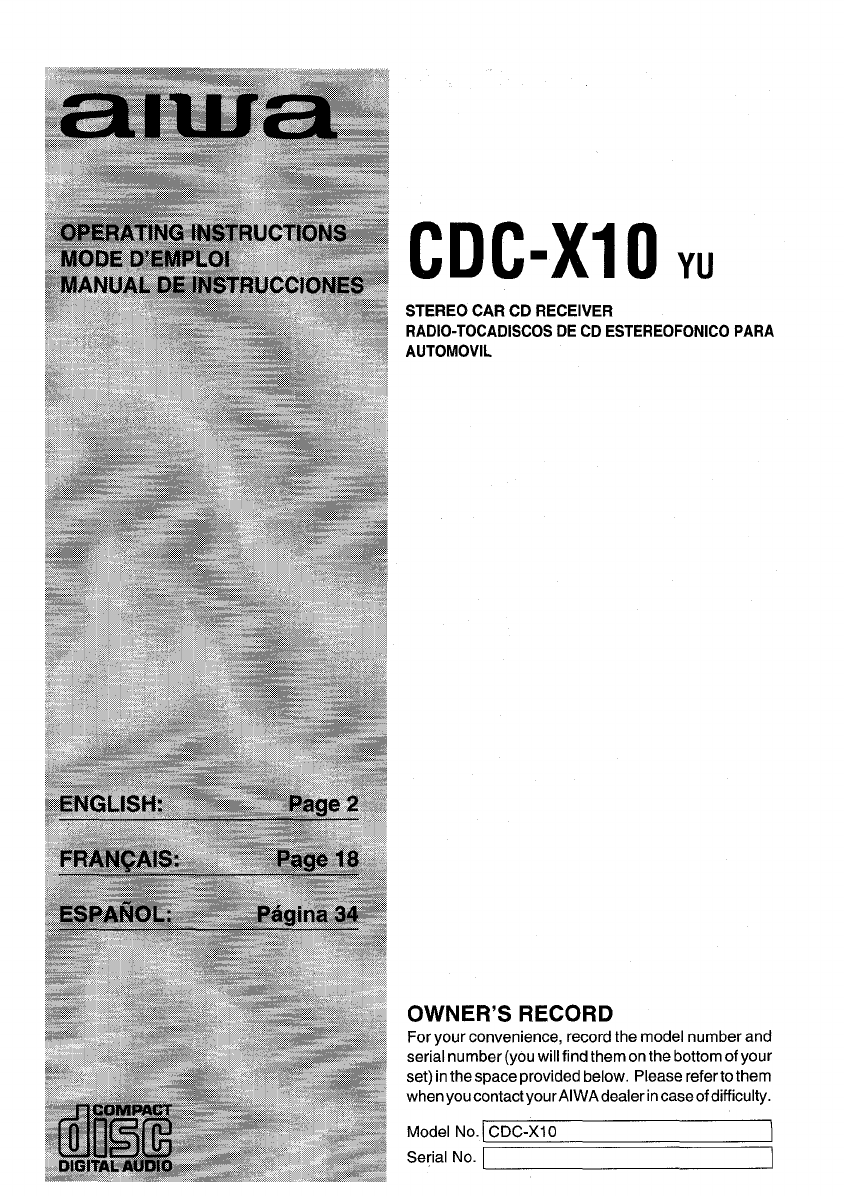
CDC-XIO wSTEREO CAR CD RECEIVERRADIO-TOCADISCOS DE CD ESTEREOFONICO PARAAUTOMOVILOWNER’S RECORDFor your convenience, record the model number andserial
~ PRESETTING STATIONSUp to 6 stations for each band [FM1, FM2, FM3, and AM] can be stored on the preset station buttons.1 Press BAND to select the des
Automatic PresettingThe automatic presetting function is used to automatically preset up to 6 stations for each band.1 Press BAND to select the desire
12~ CD PLAYBACKPress any button (except ~) to turn on the unit1Insert a disc with the labeled side uo to startplayback.If adiscis already inserted, pr
Note~The disc is neither inserted nor ejected whenthe unit is not turned on.● Smaller 3-inch (8 cm) CDs can be played on thisunitwithout an adaptor. D
14~ PROGRAM PLAYUp to 10 tracks can be set in the program memory in any order.1 Press PRG.PROG indicator lights up.z Select a desired track by pressin
To confirm the programmed tracksPress PRG in sequence.The track and program numbers are displayed in the order of the playback.To stop the program pla
, SPECIFICATIONSRADIO SECTIONFMFrequency Range:87.5 MHz -108 MHzUsable Sensitivity:12.7dBf50 dB Quieting Sensitivity17.2dBfIF Rejection:80 dBFrequency
~ TROUBLESHOOTINGIn the following cases, the corresponding error code indicator is displayed.mError codeCause SolutionE--2, E--3, E--6, E--8] The disc
, TABLE DES MATIERESPrecautions ...
❑ PRECAUTIONS● Ne pas essayer de demonter cet appareil. Lesrayons laser de la t6te de lecture optique sentdangereux pour Ies yeux.● Veiller a ce qu’au
~ TABLE OF CONTENTSPRECAUTIONS ...
~ RETRAIT DU PANNEAU DE COMMANDELe panneau de commande de I’appareil peut ~tre detache et emporte quand on quitte sa voiture.12Si un disque est insere
~ PANNEAU DE COMMANDEAfficheur@@Touche &, (separation)@ Touche POWER●~ Logement du disque@Touche LOADIEJECT &@Touches de prereglage de station
~ MISE SOUS/HORS TENSION DECAPPAREILMise sous tensionAppuyer sur POWER ou toute autre touche (sauf ~).Mise hors tensionAppuyer sur POWER.22
●AJusTEMENTs soNoREs1 Appuyer sur MODEpour selectionnerle mode $souhsite parmi VOL (volume), BAS (graves), TRE ~s(aigues), BAL (balance) et FAD (fader
, FONCTIONNEMENT DE LA RADIO1 Appuyer sur n’importe quelle touche (sauf ~)pour mettre I’appareil sous tension.La fr6quence radio s’affiche.Si I’appars
n;Remarques;● FM1, FM2 et FM3 ont la m~me plage de frequencies.-,● L’indicateur ST s’allume a la reception d’une emission stereo FM a signal de puissa
, PREREGLAGE DE STATIONSJusqu’a 6 stations peuvent ~tre memorisees pour chaque bande [FM1, FM2, FM3 et AM] sous Iestouches de station preregiee.f2Appu
naPrereglage automatique;La touche de prereglage automatique est utilisee pour preregler automatiquement jusqu’a 6 stations ~pour chaque bande.1 Appuy
~ LECTURE DE CDAppuyer sur une touche quelconque (sauf ~) pour mettre I’appareil sous tension.281 Inserer un disque, la face portant I’etiquette dirig
nRemarques● Le disque n’est ni insere nl e}ecte quand I’appareilest hors tension.● Les petits CD de 8 cm peuvent t+tre Ius surI’appareil saris adaptat
~ PRECAUTIONS● Do not attempt to disassemble this unit. Laserrays from the optical pickup are dangerous tothe eyes.● Make sure that pms or other forei
●LECTURE DE PROGRAMMEUn maximum de 10 pistes peuvent &re mises clans la memoire de programmedans n’importe quel ordre.24\ cAppuyer sur PRG.L’indic
Pour confirmer [es pistes programmersAppuyer sur PRG en sequence.Le numero de piste et Ie numero de programme s’affichent clans I’ordre de lecture.App
~ SPECIFICATIONSSECTION RADIOFMGamme de frequencies:87,5 a108 MHzSensibihte utihsable: 12,7 dBfSewl de sensibility 50 dB:17,2 dBfRejection IF: 80 dBRe
~ EN CAS DE PANNEDans Ies cas suivants, I’indicateur de code d’erreur correspondent s’affiche.Code d’erreurICauseISolutionE--2, E--3, E--6, E--8 Disqu
●[NDICEPRECAUCIONES... 35DES
~ PRECAUCIONES● No trate de desarmar este aparato. Los rayoslaser del Iector optico son peligrosos para sus0]0s.● Asegtirese de que no entren agujas u
~ DESMONTAJE DEL PANEL DE CONTROLEs posible desmontar el panel de control del aparato y Ilevarselo consigo cuando deje el vehiculoestacionado en un Iu
B PANEL DE CONTROL@ Go@@@@Visualizador@ Boton de desmontaje &@ Interrupter principal POWER●@)Compertimiento del disco@ Boton de carge/expulsion LO
b CONEXION/DESCONEXION DEL APARATOPara conectar el aparatoOprima el interruptor principal POWER o cualquiera de Ios otros botones (excepto el ~).Para
AJUSTES DE SONIDO1 ODrima el boton MODE ~ara seleccionar lamodalidadque desea a~ustar entre el VOL(volumen),BAS (graves), TRE (agudos), BAL(balance de
●DETACHING THE CONTROL PANELYou can detach the control panel from the unit and carry it with you when you leave your car unattended,1 If a disc is ins
●FUNCIONAMIENTO DE LA RADIO1 Oprima cuatquiera de IOS botones (excepto el ~)para conectar el aparato.Aparecela frecuencia sintonizada en la radio.Si s
Nota* Las bandas FM1, FM2 y FM3 tienen Ias mismas gamas de frecuencia.● Se enciende el indicador de estereo ST cuando se sintoniza una emisora de FM e
~ PROGRAMACION DE EMISORASSe pueden programar hasta 6 emisoras en cada banda [FMI, FM2, FM3 y AM] para cada uno de IOSbotones de emisoras programadas.
Programacion automaticLa funcion de programacion automatic se puecle utilizar para programar automaticamente hasta 6emisoras para cada banda.1 Oprima
REPRODUCTION DE DISCO COMPACTOOprima cualquiera de Ios botones (excepto el ~) para conectar et aparato.r-----T1Coloque un disco con el Iado que tien
Nota* No esposible colocar o expulsar ningun discocuando el aparato esta desconectado.● Los discos compactos mas pequefios de 3pulg. (8cm) pueden repr
, REPRODUCTION PROGRAMADASe pueden programar hasta 10 canciones, en cualquier orden, en la memoria de programa.1 Oprima el boton de repetition program
Para confirmar Ias canciones programadasOprima PRG varias veces.El numero de cancion y el numero de programa aparecen en el visualizador en el orden e
~ ESPECIFICACIONESSECCION DE LA RADIOFMGama de frecuencias: 87,5 MHz – 108 MHzSenslbllldad Wl: 12,7 dBfSensibllidad de silenciamiento de 50 dB:17,2 dB
~ LOCALIZATION DE AVERIASEn Ios siguientes cases, aparecera el correspondiente codigo de error.Codiao de errorCausa Solution~~Nose ha colocado o no ha
CONTROL PANELDisplay windowo & (detach) button@ POWER @ button@Disc compartment@LOAD/EJECT 4 button@Preset Station buttons 1-6@ INT (intro) button
85-KC1-903-01961218ATM-OX Printed in KoreaAIWA CO.,LTD.
To turn on the unitPress POWER or any other button (except ~).To turn off the unitPress POWER.
m SOUND ADJUSTMENTS(—) 1 Press MODE to select the mode You want to adjust‘7from VOL (volume), BAS (bass), TRE (Treble), BAL(balance), and FAD (fader).
8~ RADIO OPERATION31 Press any button (except ~) to turn on the unit.The radio frequency is displayed.If the unit is in the CD operation, press R/CD t
mmd=mY’Note● FM1, FM2, and FM3 have the same frequency range.*ST indicator lights up when an FM stereo broadcast is received with a sufficient signal
Related products and manuals for Car media receivers Aiwa CDC-X10


 (35 pages)
© 2020, manymanuals.com. All rights reserved. | 1.979 s |
 Manymanuals.com
 Manymanuals.de
 Manymanuals.fr
 Manymanuals.it
 Manymanuals.pl
 Manymanuals.cz
 Manymanuals.es
 Manymanuals-pt.com
Comments to this Manuals